

A special satisfaction arrives when you make food yourself. Knowing exactly what goes into every bite truly brings satisfaction. You control the tastes and textures to match your preferences. This ability to adjust feels incredibly worthwhile to you. Making something delicious at home is not just about eating; you create moments and share warmth through cooking. Rediscovering the simple pleasures of the kitchen becomes possible.
Connecting with what you eat matters greatly. Sharing that connection with others is a wonderful thing. Facing some recipes might seem like a big job for many. People think only bakers or chefs can make certain dishes. Recipes like homemade bread seem hard or take too much time. Unique savory pastries can also carry a reputation for being difficult. Yet, mastering impressive dishes often proves much simpler than expected.
Easy recipes that please crowds are valuable for home cooks. These recipes can easily turn a gathering into a memorable event. They do not require hours of complicated effort or special tools. We will now look into some such recipes for you. Also, we explore culinary insights in this collection. Seemingly complex tasks can be broken down simply. Simple ingredients can readily create incredible flavor and texture.
Drawing from experts and home cooks provides these ideas. Deliciousness and impressiveness are within reach for anyone. Any home cook can make something special without much fuss. Let’s explore some options that are surely popular hits.

1. **Why Bake Your Own Bread**: Baking bread yourself offers absolute control. You decide exactly what goes into your loaf. Unlike store-bought bread, you can easily select quality flour. You regulate the amount of salt put inside. No unneeded additives or preservatives make it in either. This ingredient transparency offers great peace of mind.
It also lets you tailor the flavor and texture of bread perfectly. You can make it fit your exact taste buds. This includes the tanginess in sourdough or the richness of a white loaf. Baking your own bread also offers potential health advantages. Especially types like sourdough make the effort worthwhile. Sourdough is often called one of the healthiest breads out there.
Its unique character comes from natural fermentation processes. Wild yeast and bacteria work together to create this effect. This fermentation holds the key to sourdough’s claimed benefits. The British Heart Foundation says sourdough has a lower glycaemic index than regular bread made with commercial yeast. Eating sourdough might mean that your blood sugar rises more steadily. This slower rise potentially benefits your overall health. Homemade versions offer nutritional gains and superior flavor. They have a freshness that store-bought bread often cannot match at all.
Homemade Dinner Rolls
Equipment
- 1 Standing Mixer with dough hook attachment
- 1 Large Mixing Bowl for the first rise
- 1 Muffin Tin Pan standard 12-cup or similar
- 1 Measuring Cups and Spoons
- 1 Pastry Brush for butter
Ingredients
Main
- 1 1/4-ounce package dry active yeast
- 1 cup warm water about 110 degrees F
- 1/2 cup sugar
- 1 egg beaten
- 2 teaspoons salt
- 1 cup milk scalded but cooled to warm
- 4 ounces melted butter plus 2 ounces
- 5 cups flour plus more, as needed
- 6- cup 3-inch muffin tin pan
Instructions
- In a standing mixing bowl with dough hook, dissolve yeast in warm water. Let sit until lightly foamy, then stir in sugar and add egg, salt, warm milk, and 4 ounces of butter. Slowly add 5 cups flour, adding more as needed to make an elastic dough. Mix well, then roll out to floured surface and knead dough for about 5 minutes.
- Place dough in buttered bowl, cover with towel, and set in a warm place to rise until double in bulk, about 1 hour.
- Lightly oil the muffin pan. Punch down dough and form dough into 1-inch balls. Place 3 balls in each muffin tin. Fill muffin pan, cover with towel, and allow to rise an additional 1/2 hour.
- Preheat oven to 425 degrees F.
- Brush with remaining melted butter. Bake in preheated oven for 10 to 15 minutes, until golden brown.
Notes
2. **Sourdough Isn’t as Scary as It Seems**: Many home bakers find sourdough daunting. The mere idea perhaps brings complex processes to mind. They imagine that unpredictable results might happen to them. It seems like a tricky craft that requires vast experience. A finicky starter and failed attempts seem common. Getting a perfect crust and crumb appears difficult at first.
Many bakers admit that learning takes some time for sure. They tell stories of loaves that did not turn out right. These first tries can understandably discourage beginners. Yet, this view of sourdough is strongly challenged by experts. They believe it has been made unnecessarily mysterious by others. Elaine Boddy is a famous baker who has written four books. These books are dedicated specifically to making bread at home.
She offers a refreshing and reassuring perspective for new bakers. Mastering sourdough does not have to be overwhelming at all. It is much simpler than you may be thinking right now. People find it scary due to overcomplicated instructions that are going around. A lot of people seem to have made the whole process confusing. Making it seem scary is not fair because it really isn’t. She has seen many people stressed out when starting sourdough. At heart, making it remains a simple, enjoyable process.

3. **A Key Sourdough Tip: Preventing Over-Proofing in Warmth**: Even with careful steps, issues can arise. Home bakers sometimes encounter frustrating sourdough problems. These issues prevent them from getting that perfect loaf. A common vexing problem is ending up with sticky loaves. Gummy or delicate loaves sometimes occur after baking. These poor results mean a dense or heavy texture.
Elaine Boddy says this is often due to over-proofing the dough. Over-proofing allows the dough to ferment too long before baking. The starter produces gases that cause the dough to rise high. If this goes on too long, the dough structure weakens inside, ultimately leading to collapse or poor oven spring. This problem is, of course, worse in warmer temperatures. Warmer temperatures significantly speed up natural fermentation.
Bakers facing heat might find that the dough over-proofs quicker. This happens even when following their usual timing approach. To tackle this heat challenge, it’s easy to avoid over-proofing. The baking expert has given wise advice for home bakers. Adjusting your recipe slightly when temperatures rise helps. Using less starter prevents the dough from over-proofing in warmth. This change considerably slows down the fermentation rate. She provides a guideline for how little starter can be used.
Making tasty food for a lot of people is simple. You can make bread or tacos; both are very popular. Other easy recipes also exist that bring just as much happiness. These simple dishes easily impress everyone at the table. Let’s explore one family favorite recipe now. It holds a special place in their cooking traditions.
This next recipe comes from a much-loved old family cookbook. It has been passed down over many years. It shows how simple ingredients can make special dishes. This specific dish is my husband Gavin’s go-to dinner. It highlights charming, simple recipes from local cookbooks.
4. **Gavin’s Cherished 4-Ingredient Bierocks Recipe**: My husband Gavin truly loves one specific dinner. This recipe comes from a vintage cookbook with a spiral binding. The book, called Crestview Café, has recipes shared by local friends. They were all associated with Crestview Elementary in Boulder, Colorado. The school’s PTA compiled this nice piece of cooking history.
His late sister, Kellee, gave Gavin this cookbook. That makes all its recipes extra meaningful to him. The Crestview Café book contains many different family recipes. You can find everything from “Earl’s Steak Diane” to a “Chili Weekend Concoction”. Gavin immediately noticed one recipe in particular. It was for bierocks and listed only four ingredients. He did mention that at first, it seemed almost too easy to be true.
Classic Shortbread Cookies in 4 Ingredients with added 1 ingredient Variations
Equipment
- 1 Food Processor
- 1 Plastic Wrap
- 2 Baking Sheets Lined with parchment or silpat
- 1 Wire Racks For cooling
- 1 Sharp Knife For slicing dough log
Ingredients
Main
- 2 cups all-purpose flour
- 1/2 teaspoon salt
- 1/2 cup plus 2 tablespoons powdered sugar
- 1 teaspoon pure vanilla extract
- 1 cup 2 sticks unsalted butter, room temperature, cut into chunks
- 1 teaspoon water
- 2 tablespoons loose chai tea or from approximately 6 tea bags
- 1/2 cup toasted and chopped pecans
- Plus extra powdered sugar for dusting finished cookies
Instructions
- Preheat the oven to 375 degrees F.
- Add the flour, salt, and powdered sugar to a food processor and pulse to combine. Add in the vanilla, the butter and the 1 teaspoon of water. Pulse together just until a dough is formed. Put the dough on a sheet of plastic wrap and roll into a log, about 2 1/2 inches in diameter and 5 inches long. Tightly twist each end of the wrap in opposite directions. Chill the dough in the refrigerator for at least 30 minutes.
- Slice the log into 1/3-inch thick disks. Arrange on nonstick cookie sheets, parchment lined or silpat lined baking sheets, 2 inches apart. Bake until the edges are just light brown, about 12 to 14 minutes, rotating the pans half way through the baking process. Remove from the oven and let cool on the cookie sheets for 5 minutes. Transfer to wire racks and cool until room temperature. Enjoy!
- Variations:
Notes
5. **The History and Regional Significance of Bierocks**: Let’s learn about bierocks before cooking them. It’s very interesting to know where they come from. People often spell it “beer rocks” in older books. That’s how Gavin’s cookbook spells it too. These are savory pastries with a simple filling inside. They traditionally contain cooked meat, cabbage, and onion. It’s a very hearty mixture.
These comfort food buns have a long history here. German Russian Mennonite immigrants brought them to America. They came to the Great Plains area in the mid-1800s. Today, people still love them in many homes. Small-town diners often sell them too. They are especially popular in the state of Kansas. If you go just across the state line into Nebraska, you’ll find a very similar pastry called runzas there. It’s so popular that there is a fast-food chain just for them. The chain is in Lincoln, Nebraska.
6. **Listing the Simple Ingredients for the Bierocks**: The Crestview Café cookbook states that this bierocks recipe is simple. It stays true to that, with just four main ingredients. Angela McLaughlin shared this simple version herself, ensuring it was easy for home cooks. There’s no fuss with this one at all.
Four main ingredients are needed for this recipe. You need one pack of Rhodes frozen dinner rolls. One pound of hamburger meat is also required. Get one pack of Lipton dry onion soup mix too. Lastly, grab one can of sauerkraut. You must drain the sauerkraut very well and rinse it off too. Then chop it into smaller pieces before mixing. These common ingredients make this recipe great. It is a handy and tasty option for home cooking.
7. **Step-by-Step Guide to Making the Bierocks (Part 1: Prep & Filling Cook)**: Starting out, you handle the frozen dinner rolls first. Just follow the directions on the Rhodes bag for letting the rolls rise. This step makes the dough ready for filling. It gets the rolls ready to be the fluffy buns we want later. They will bake up just right.
While your rolls are nearly finished rising, prepare the filling. Cook the hamburger meat in a pan until it’s browned. Make sure the meat is cooked all the way through. When it’s done, carefully drain off the extra fat. This keeps the filling from being oily inside the bun. It helps improve the texture.
8. **Step-by-Step Guide to Making the Bierocks (Part 2: Adding Flavor & Filling)**: The cooked and drained hamburger is now ready. Add the important flavors to this simple filling. Mix the entire Lipton dry onion soup pack into the meat. This provides a fast and tasty base flavor. There’s no need for lots of other spices here. It’s a quick and easy way.
Next, add the sauerkraut you prepared. Make sure it has been drained, rinsed, and chopped up. Mix it all together with the seasoned meat. Stir everything until the flavors are evenly distributed. Now take the rolls that have risen well. Take one roll in your greased hand. Gently open it up in the middle. This creates a space to put the filling.
Ultimate Chocolate Peanut Butter Pie
Equipment
- 1 Stand Mixer with paddle attachment
- 1 Electric Mixer or stand mixer
- 2 Medium Bowls
- 1 Large Rubber Spatula for folding
Ingredients
Main
- One 14-ounce can sweetened condensed milk
- 8 ounces cream cheese at room temperature
- 1 1/4 cups creamy peanut butter
- 3/4 cup heavy cream
- 1/3 cup mini semisweet chocolate chips plus more for topping
- 1/3 cup peanut butter chips plus more for topping
- One 9-inch prepared chocolate crumb pie crust
- 4 ounces cream cheese at room temperature
- 1 cup heavy cream
- 2 tablespoons sugar
Instructions
- For the peanut butter cream: Measure 1/2 cup of the sweetened condensed milk and add to the bowl of a stand mixer fitted with the paddle attachment (reserve the remaining sweetened condensed milk for the whipped topping). Add the cream cheese and peanut butter and beat on medium speed until smooth and no chunks of cream cheese remain, 3 to 4 minutes.
- Add the heavy cream to a medium bowl and beat with an electric mixer until stiff peaks form, 2 to 3 minutes. (Alternatively, you can whip the cream by hand with a whisk until stiff peaks form, 4 to 5 minutes.) Fold the whipped cream into the peanut butter mixture using a large rubber spatula, then fold in the mini chocolate chips and peanut butter chips. Spoon the mixture into the chocolate crumb pie crust and spread until smooth, mounding it slightly in the middle for height. Chill, uncovered, until completely set, about 2 hours.
- For the whipped topping: Just before serving, beat the cream cheese, heavy cream, sugar and remaining sweetened condensed milk in a medium bowl with an electric mixer on medium speed until stiff peaks form, about 3 minutes.
- Remove the pie from the pie pan and transfer to a serving platter. Mound the whipped topping on top and sprinkle with mini chocolate chips and peanut butter chips.
Notes
9. **Step-by-Step Guide to Making the Bierocks (Part 3: Sealing & Baking)**: With the dough open in your hand now, it is time to put the good filling inside. Put a spoonful of the meat and sauerkraut mix in the center. The recipe suggests using one to two soup spoons. You adjust the amount based on how big your roll is. Do not add too much filling.
Once the filling is inside, carefully pull the dough edges up. Wrap them all around the meat mixture. Pinch the seams together to close it up tightly. This keeps the filling from coming out. After filling and closing all the rolls, place them on a baking sheet. Bake the bierocks in a 375-degree Fahrenheit oven. Keep baking until they turn golden brown. They should also look nice and fluffy.
Apple Crumb Pie
Equipment
- 2 Mixing Bowls One large for crust/filling, one medium for crumb topping
- 1 Rolling Pin For rolling pie dough
- 1 9-inch Pie plate
- 1 Paring Knife For peeling and slicing apples, testing doneness
- 1 Baking Sheet Heavy duty, for preheating and preventing soggy bottom crust
Ingredients
Main
- 1 1/4 cups all-purpose flour plus more for dusting
- 2 teaspoons granulated sugar
- 1/2 teaspoon salt
- 1 stick cold unsalted butter cut into 1/2-inch cubes
- 1 tablespoon apple cider vinegar
- 1/4 cup ice water plus more if needed
- 1 cup all-purpose flour
- 1/3 cup packed light brown sugar
- 1/4 teaspoon ground cinnamon
- 1/4 teaspoon salt
- 1 stick unsalted butter cut into 1/2-inch pieces, at room temperature
- 3 pounds mixed apples such as Golden Delicious, Granny Smith and Gala, peeled and sliced 1/4 inch thick
- 4 tablespoons unsalted butter melted
- 1/3 cup granulated sugar
- 1/4 cup packed light brown sugar
- 2 tablespoons all-purpose flour
- 1 tablespoon fresh lemon juice
- 1 teaspoon ground cinnamon
- 1/8 teaspoon salt
Instructions
- Make the crust: Whisk the flour, granulated sugar and salt in a large bowl. Rub the butter pieces into the flour using your fingers until pea-size pieces form. Drizzle in the vinegar and ice water; stir gently with a fork to combine. If the dough doesn’t hold together when you squeeze it, add more ice water, 1 tablespoon at a time. Turn out the dough onto a piece of plastic wrap and form into a disk; wrap tightly. Refrigerate until firm, at least 1 hour or overnight.
- Roll out the dough on a lightly floured surface into a 13-inch round. Ease into a 9-inch pie plate. Trim the edges, leaving a 1-inch overhang, then tuck the overhanging dough under itself; crimp the edges with a fork. Refrigerate until firm, at least 1 hour or overnight.
- Meanwhile, make the crumb topping: Mix the flour, brown sugar, cinnamon and salt in a medium bowl. Rub the butter into the mixture with your fingers until no longer floury and crumbs form. Freeze until ready to use.
- Make the filling: Place a foil-lined baking sheet on the lowest oven rack; preheat to 400˚. Mix the apples, melted butter, both sugars, flour, lemon juice, cinnamon and salt in a large bowl. Spoon the filling into the chilled pie crust. Pat the crumb mixture on top.
- Bake the pie on the hot baking sheet until lightly browned, about 30 minutes. Reduce the oven temperature to 350˚ and bake until the apples are completely soft when pierced with a paring knife, 60 to 80 more minutes. (If the topping is getting too dark, cover loosely with foil.) Transfer the pie to a rack to cool completely.
Notes
10. **Essential Tips for Baking Perfect Bierocks (Tip 1: Bun Size)**: This recipe originally used Rhodes frozen dinner rolls. A great tip for achieving the best results is to pick the right dough size. My husband, Gavin, likes using the larger “Texas-size” rolls. He specifically uses this brand.
He finds that the bigger rolls create a better meat-to-bread ratio. This is very helpful if you’re putting two spoonfuls of filling in. If using smaller dough balls, use less filling. This ensures that the pastry isn’t too full. It helps them seal up much easier.
Sheet Pan Chicken Fajitas
Equipment
- 1 Rimmed Baking Sheet For broiling
- 1 Aluminum Foil For lining the baking sheet (easy cleanup)
- 1 Small Bowl For mixing seasoning
- 1 Large Bowl For tossing chicken with seasoning
- 1 Knife & Cutting Board For preparing vegetables and chicken
Ingredients
Main
- 1 tablespoon chili powder
- Kosher salt and freshly ground black pepper
- 1 pound baby bell peppers 12 to 15 peppers, halved, stemmed and seeded
- 1 large yellow onion halved and thinly sliced
- 2 tablespoons extra-virgin olive oil
- 1 1/2 pounds boneless skinless chicken breast
- Juice of 1 lime plus lime wedges, for serving
- 8 fajita-size flour tortillas warmed
- Shredded Monterey Jack cheese guacamole, hot sauce, salsa and sour cream, for serving
Instructions
- Preheat the broiler to high. Line a rimmed baking sheet with foil.
- Combine the chili powder, 2 teaspoons salt and 1 teaspoon pepper in a small bowl. Put the peppers and onions on the prepared baking sheet, drizzle with 1 tablespoon of the oil and season with half the chili powder mixture. Broil until softened and starting to char, about 10 minutes.
- Meanwhile, cut the chicken into 1/4-inch-thick slices and toss in a large bowl with the remaining chile powder mixture and 1 tablespoon oil.
- After the peppers are softened and starting to char, about 10 minutes, scatter the chicken on top of the peppers and onions and return the baking sheet to the broiler until the chicken is cooked through and starting to brown, about 5 minutes more. Drizzle with the lime juice.
- Serve with the warmed tortillas, Monterey Jack cheese, guacamole, hot sauce, salsa, sour cream and lime wedges.
Notes
2. Ensure chicken is sliced uniformly thin (about 1/4 inch) for quick and even cooking alongside the vegetables.
3. For extra depth of flavor, add a pinch of cumin, smoked paprika, or a tiny bit of cayenne pepper to the chili powder blend.
4. Properly warm tortillas (microwave, skillet, or wrap in foil and heat briefly in the oven) to make them pliable and enhance the serving experience.
11. **Essential Tips for Baking Perfect Bierocks (Tip 2: Cooling Filling)**: Another helpful tip makes filling the rolls much easier. It’s about how hot the meat mixture is. After cooking the beef, draining it, and mixing in the flavors, let it cool. Let it cool down a bit before you start filling the dough.
Trying to work with very hot filling is difficult. It makes handling and sealing the dough challenging. Letting it cool reduces the chance of burning your hands. This can happen when you spread the dough or pinch it shut. A cooler filling is more solid and easier to place neatly in the center. This leads to a happier, less messy assembly process.

12. **Essential Tips for Baking Perfect Bierocks (Tip 3: Adding Cheese)**: Some people enjoy an extra rich taste in their pastries. A simple change can add this to the bierock recipe. You can easily incorporate this variation. My husband and I often do this to make them even better.
Before sealing the bun, put a slice of cheese on the filling. Add a quarter slice of cheese on top. Swiss or Cheddar cheeses taste great. They melt nicely inside the warm bun while baking. This little extra gives a creamy flavor. It fits perfectly with the savory meat and sauerkraut. It is a delicious addition.
13. **Essential Tips for Baking Perfect Bierocks (Tip 4: Shaping and Sealing)**: Working with frozen dinner roll dough is okay. It is usually pretty easy to handle. The good news is that you don’t need perfect rounds. Don’t worry too much about the shape of the bierocks.
In fact, Gavin says the look doesn’t have to be neat. He even likes them to have more ruffles on the outside. This happens from pinching the dough. He enjoys them looking a bit rustic and rough, like they are actual “rocks”. Shape doesn’t matter much, but sealing is vital. Make sure the filling stays totally inside. Gently pinch the seam and any holes to stop the filling from leaking out as they bake.
14. **Essential Tips for Baking Perfect Bierocks (Tip 5: Egg Wash)**: For those who like their food to look nice, here’s a step. It can make your baked bierocks look better. This means using an egg wash on the outside of the rolls. Do this before they go into the hot oven.
Brush the tops of the closed pastries with the egg wash. This helps them achieve a beautiful, shiny finish. It also helps them brown nicely and evenly. They bake with a much better appearance. Bierocks still taste good without it, of course. But this easy step adds a polished look. It makes them look more tempting on the plate.
15. **Serving Suggestions for Bierocks**: These warm, savory bierocks have just come out of the oven. They are golden brown and feel fluffy. Now they are ready for you to enjoy. They are great as a quick dinner meal. You can also bring them to parties or gatherings. Handheld foods are always popular at these events. Angela even mentioned that they are “Great for football games”.
They taste good on their own, full of flavor. But using dipping sauces makes them even better. My personal favorite is ranch dressing. A1 sauce works very well too. I think the cool taste of ranch goes great with them. The bold flavor of A1 goes well with them too. Both fit well with the rich, oniony meat. They pair nicely with the sauerkraut filling, adding more layers of delicious taste.
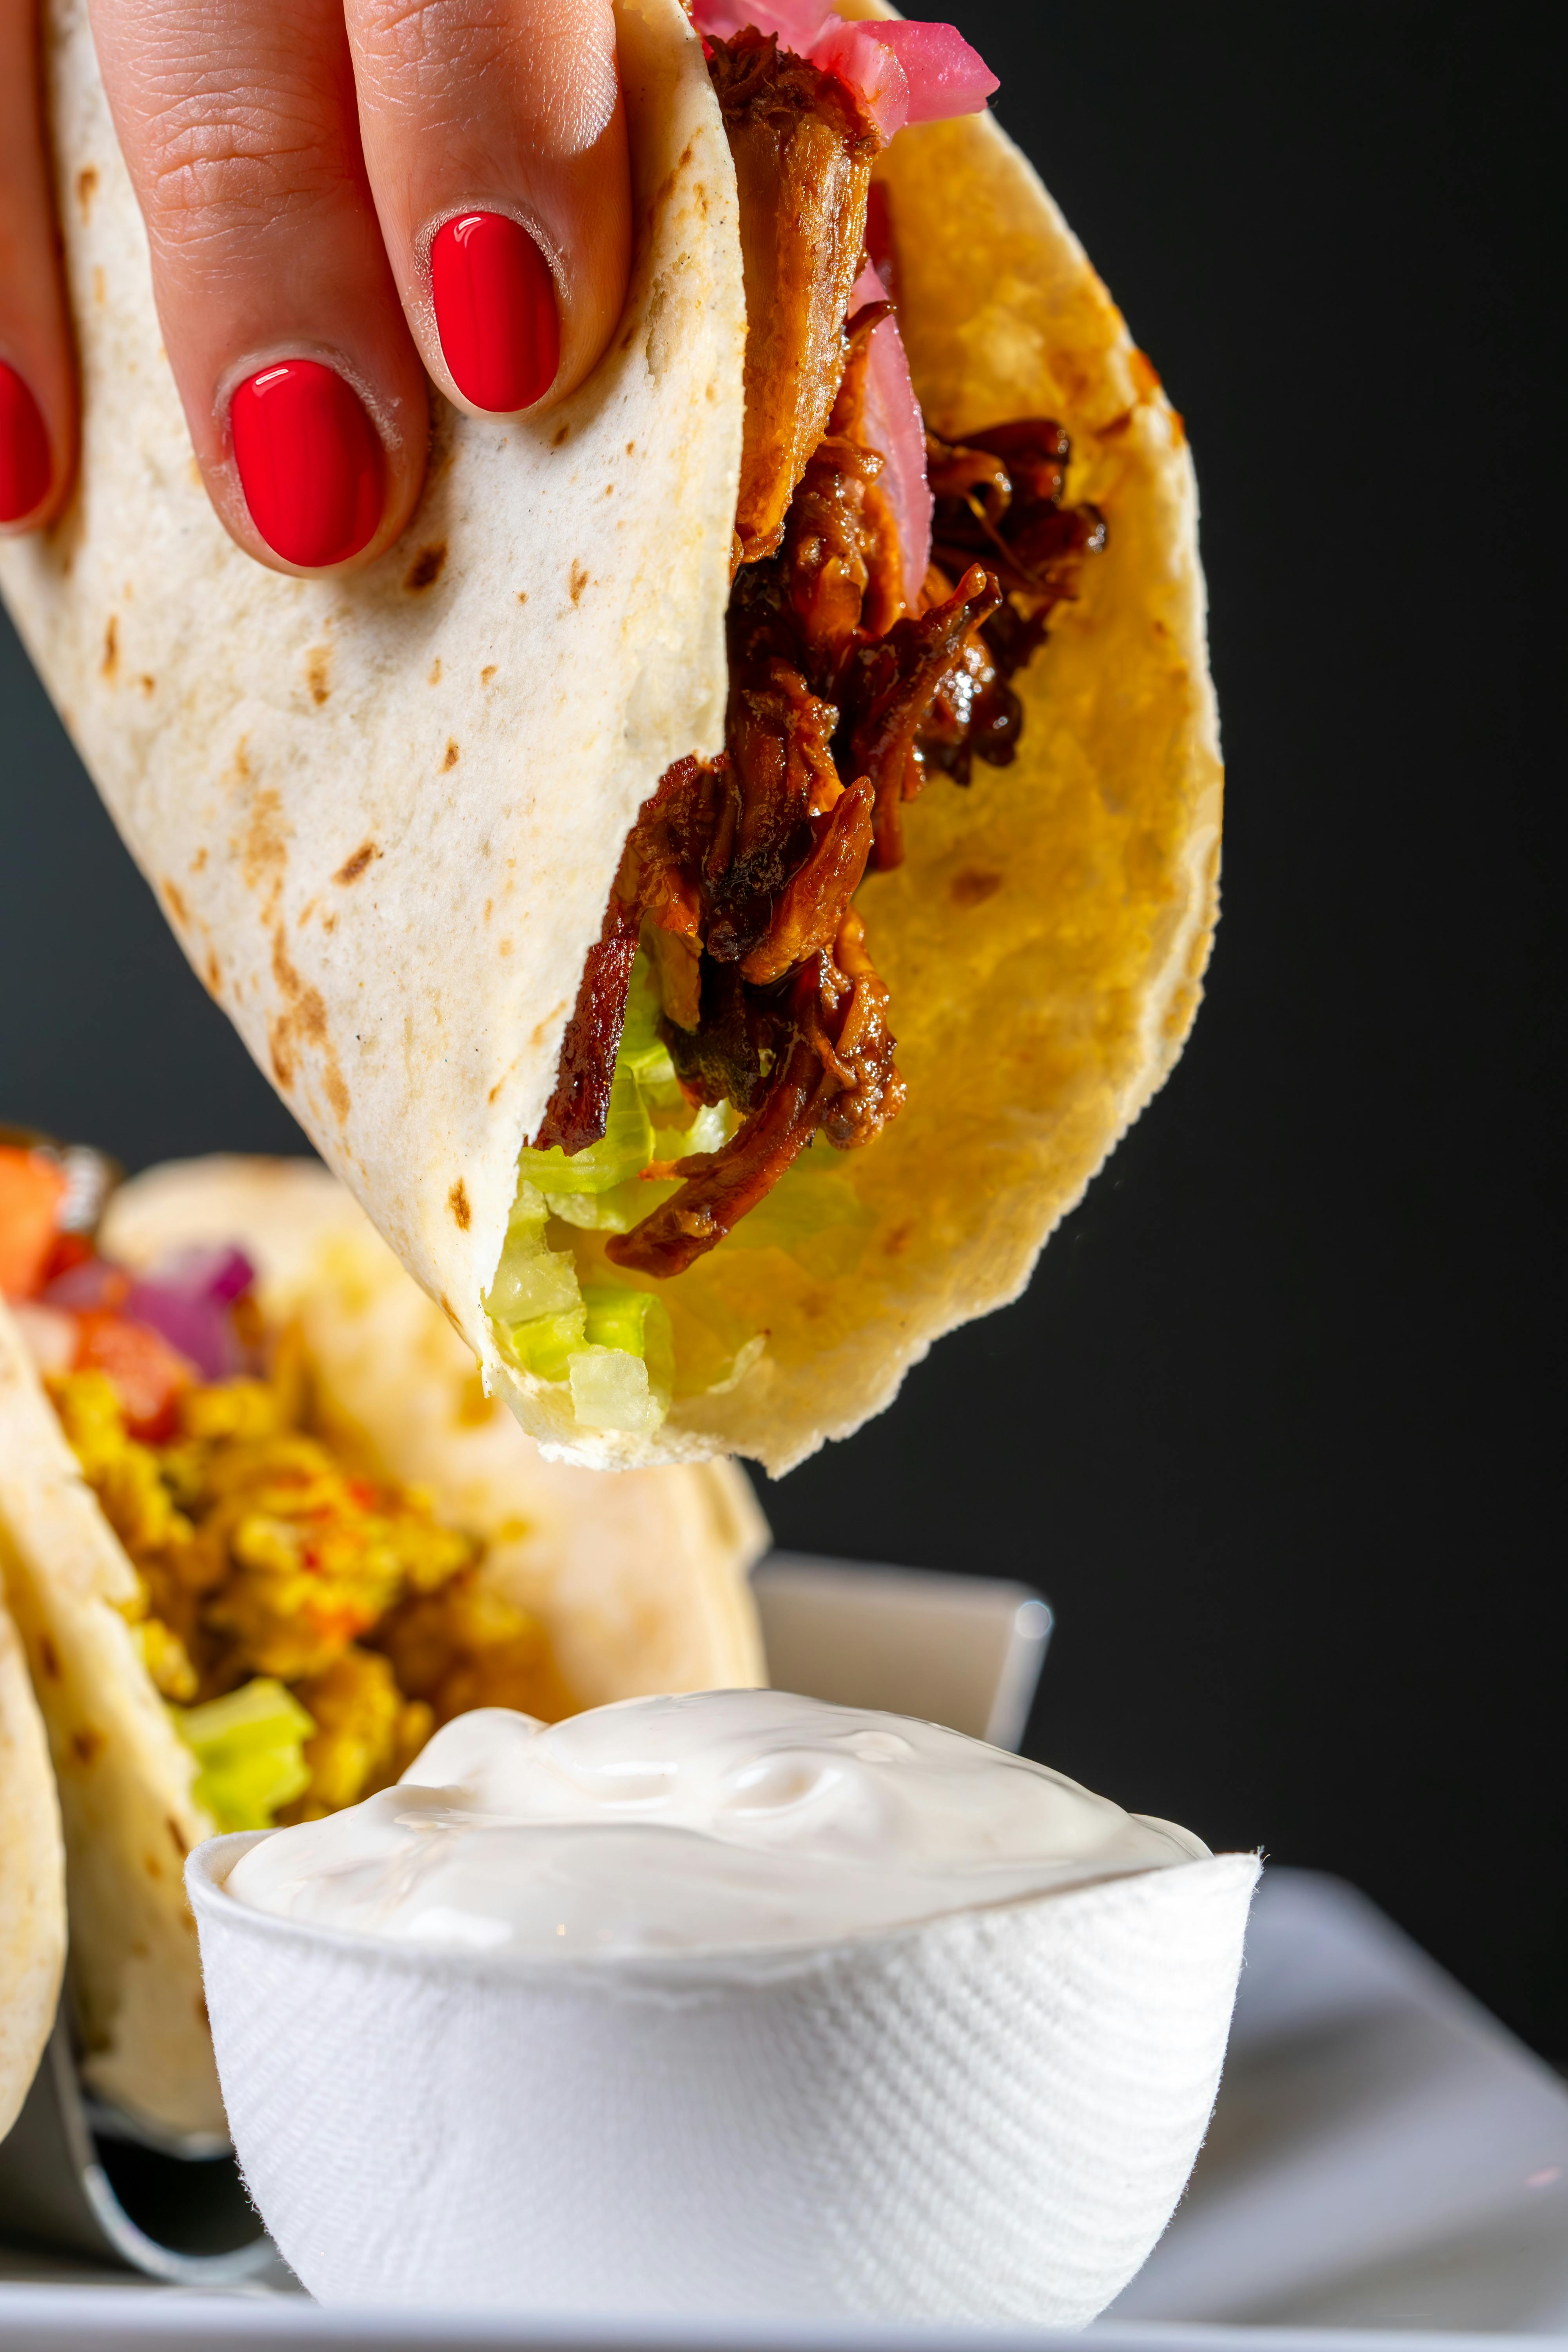
16. **Additional Insights: Perfecting Tacos and Sourdough Method**: Let’s think about other foods people love. Two more points from earlier can help achieve good results. Consider Kate Hudson’s well-known 4-ingredient tacos recipe. The famous crispy yet soft texture comes from her frying method. It involves more than just quickly warming up the tortillas.
First, cook the onion and hamburger separately. Make sure the meat is well-seasoned. Heat a lot of oil in a big pan until it is shimmering hot.
Put one corn tortilla in carefully. Let it bubble a little until it looks soft, not hard. Work quickly and spoon some meat into it. Close the tortilla with tools like a spatula and tongs.
Fry each side for about 10 seconds until it is golden brown and a little crispy. Do this for each tortilla one by one. Let them drain on paper towels. This two-step frying method is the secret.
For sourdough bread, Elaine Boddy’s main method is simple. It forms the base for all her recipes. It involves gently stretching and folding the dough. Do this many times over a few hours. Then let it rise on the kitchen counter overnight. Bake it the next morning.
If you want to enjoy fresh sourdough in a classic way, you absolutely must put lots of butter on a warm slice. It is pure, simple perfection.
Bringing simple, loved dishes to your table is so rewarding. From perfect sourdough bread with just butter to crispy, maybe a little “naughty,” tacos that impress people, and finally, hearty, tasty bierocks with family history, these recipes show that you don’t need complicated steps. You can create amazing food easily. They give you a chance to connect with cooking and share happiness with others. Rediscover the simple joy of making delicious meals right in your own kitchen. Enjoy the easy steps. Savor the good tastes. Watch these simple recipes become your go-to choices. They will be hits at every gathering you host.
Related posts:
Baker’s ‘simple’ sourdough bread that’s better than classic recipes
Kate Hudson’s Chewy 4-Ingredient Tacos Are a Must-Try Recipe
My Husband’s Favorite 4-Ingredient Dinner Comes From a Vintage PTA Cookbook


