

There’s a certain magic in Grandma’s cooking a dash of wisdom, a pinch of love, and recipes that transform simple ingredients into memories that never fade. I still remember the rich, buttery scent of her kitchen, where every meal was a hug. These ten beloved recipes, from comforting casseroles to zesty pies, distill that enduring comfort, bringing back childhood gatherings and fireside family dinners. They’re not just food; they’re stories baked into every bite, proving that the best flavors come from tradition and heart. Let’s dive into these culinary gems, exploring why they’re so special and how they stack up against modern tweaks to nostalgic foods we’ve discussed before.
Grandma’s recipes stand out for their simplicity and soul, using pantry staples and clever techniques to create dishes that rival any restaurant. Unlike the reformulated Twinkies or bland supermarket strawberries we’ve lamented, these recipes stay true to their roots, delivering the same rich flavors generation after generation. Get ready to fire up your oven and bring a taste of home back to your table.
Why Grandma’s Recipes Shine:
- Simple foods, bold flavors.
- Traditional methods, no gizmos required.
- Love and nostalgia in each mouthful.
Savory Comfort: Warming Mains that Tickle the Heart
Grandma’s savory dishes are the epitome of comfort, turning weeknights into family gatherings. I’ve savored many a casserole that made the world feel right again. These recipes use humble ingredients to create meals that stick to your ribs and your heart, far surpassing the diluted flavors of modern fast food like Pizza Hut’s frozen-dough pizzas.

1. Grandma’s Ground Beef Casserole
Grandma’s Ground Beef Casserole is a weeknight winner, a “culinary hug” that gathers everyone around the table. Moist ground beef, soft pasta, and zesty tomato sauce come together under a golden crust of melted cheese. I remember digging in as a child, the cheesy crust stretching with each scoop. In contrast to the soupy Hellmann’s mayo of the present day, the sauce of this casserole is rich and unifying, packing big flavor with minimal hassle.
Its secret is harmonizing savory meat with a full-bodied tomato base, and it’s a crowd-pleaser that surpasses any frozen meal mass-produced. It’s homey comfort that doesn’t need preservatives.
Ground Beef Chow Mein Casserole
Equipment
- 1 9×13 inch Baking Dish
- 1 Large Skillet
- 1 Spatula or wooden spoon For browning beef and mixing
- 1 Aluminum Foil For covering casserole during initial bake
Ingredients
Main
- cooking spray
- 1 pound ground beef
- 1 10.5 ounce can condensed cream of mushroom soup
- 1 10.5 ounce can condensed cream of celery soup
- 1 8 ounce can sliced water chestnuts, drained
- 1 cup diced celery
- ¾ cup water
- ⅔ cup shredded Colby-Jack cheese
- ½ cup sliced almonds
- ½ cup sliced mushrooms
- 2 tablespoons soy sauce
- ½ teaspoon ground black pepper
- 1 5 ounce can chow mein noodles
Instructions
- Gather the ingredients. Preheat the oven to 350 degrees F (175 degrees C). Lightly grease a 9×13-inch baking dish with cooking spray. Allrecipes / Qi Ai
- Heat a large skillet over medium-high heat. Cook and stir beef in the hot skillet until browned and crumbly, 5 to 7 minutes; drain and discard grease. Transfer beef to the prepared baking dish. Allrecipes / Qi Ai
- Add condensed soups, water chestnuts, celery, water, Colby-Jack cheese, almonds, mushrooms, soy sauce, and pepper to the baking dish; stir with beef until well combined. Cover the dish with aluminum foil. Allrecipes / Qi Ai
- Bake in the preheated oven for 45 minutes. Remove foil and sprinkle chow mein noodles over top of casserole. Continue baking until casserole is browned around the edges, about 30 minutes more. Allrecipes / Qi Ai
Notes
Why It’s Special:
- Easy to prepare, hearty, and cheesy.
- Maximum flavor with simple ingredients.
- Savors better than processed casseroles made today.

2. Slow Cooker Pierogies
Grandma’s Slow Cooker Pierogies turn a Polish staple into a breeze. Frozen pierogies, kielbasa, chicken broth, cheese, and a dash of pepper become a creamy, cheesy treat in the slow cooker. I enjoy that this meal is a labor of love without the labor just right for hectic days. In contrast to the flavorless strawberries cultivated for shipping, this recipe retains its strong, real flavors.
The slow cooker does all the work, allowing the pierogies to absorb the richness of the broth while the cheese provides a creamy texture. It’s Grandma’s time-saving trick to comfort, with convenience never compromising flavor.

Slow Cooker Pierogie Chicken Paprikash recipes
Equipment
- 1 Slow Cooker
- 1 Cutting Board
- 1 Chef’s knife
- 1 Large Skillet or Sauté Pan For sautéing aromatics
- 1 Whisk and Medium Bowl For tempering sour cream
Ingredients
Main
- 2 cups chicken broth
- 1 lb chicken breasts
- 2 TB butter
- 1 small onion chopped
- 2 whole celery stalks chopped
- 4 TB sweet Hungarian paprika
- 1 pint sour cream
- 1 box cheese and potato pierogies
- salt
- pepper
Instructions
- Dice the onion and celery. In a large skillet, melt the butter over medium heat and sauté the diced onion and celery until softened, about 5-7 minutes.
- Stir in the sweet Hungarian paprika and cook for 1 minute, being careful not to burn it. Immediately transfer the contents of the skillet to the slow cooker.
- Add the chicken breasts, chicken broth, a pinch of salt, and pepper to the slow cooker.
- Cover the slow cooker and cook on low for 4-5 hours or on high for 2-3 hours, until the chicken is fork-tender.
- Once cooked, remove the chicken breasts from the slow cooker and shred them using two forks. Return the shredded chicken to the slow cooker.
- In a separate bowl, whisk a ladleful of the hot liquid from the slow cooker into the sour cream to temper it, preventing curdling.
- Stir the tempered sour cream into the slow cooker, ensuring it’s well combined.
- Add the cheese and potato pierogies to the slow cooker, nestling them into the liquid.
- Cover and continue to cook on low for another 30-60 minutes, or until the pierogies are tender and heated through.
- Taste and adjust seasoning with additional salt and pepper as needed before serving hot.
Notes
Standout Features:
- Simple one-pot preparation.
- Deep, rich flavors from uncomplicated ingredients.
- A twist on the classic dish.

3. Classic Tuna Noodle Casserole
Grandma’s Tuna Noodle Casserole is a retro classic, combining creamy noodles, flaky tuna, and a crunchy topping that makes every bite shine. I can still remember the crunch of that topping from past family dinners. As opposed to cardboard-textured Girl Scout Cookies that some bemoan these days, this casserole employs pantry staples to provide unadulterated comfort without compromise.
Its crunchy crust and creamy interior provide an ideal textural combination, and it’s a weeknight lifesaver served atop a salad or veggies. Grandma’s skill at frugality comes through, transforming ordinary ingredients into a banquet.

Tuna Noodle Casserole
Equipment
- 1 Large Pot
- 1 Large Skillet
- 1 9×13 inch Baking Dish
- 1 Whisk
- 1 Chef’s knife
Ingredients
Main
- 12 ounces wide egg noodles
- 8 tablespoons 1 stick salted butter, plus extra for buttering the baking dish
- 1 medium onion diced
- 6 ounces white button mushrooms finely chopped
- 1/4 cup all-purpose flour
- 3 cups warmed whole milk
- 1/2 cup dry sherry
- Kosher salt and freshly ground black pepper
- Three 6.4-ounce cans white albacore tuna in water drained
- 1/4 cup finely chopped red bell pepper
- 2 tablespoons minced fresh parsley
- 1/2 cup panko breadcrumbs
- Serving suggestions: a green salad and crusty bread
Instructions
- Preheat the oven to 400 degrees F.
- Bring a pot of water to a boil and cook the egg noodles to al dente according to the package instructions. Drain and set aside.
- Meanwhile, melt 4 tablespoons of the butter in a large skillet over medium heat. Add the onion and cook until starting to soften, 3 to 4 minutes. Add the mushrooms and cook, stirring, for a couple of minutes. Sprinkle the flour evenly over the mixture and stir so that the flour coats the onions and mushrooms thoroughly. Cook, stirring, for another minute. Add the milk and sherry and whisk to combine. Cook the sauce until it’s nice and thick, 3 to 4 minutes. Sprinkle in salt and pepper to taste and stir. Adjust the seasoning to make sure the sauce is adequately salted.
- Add the tuna and stir it into the sauce. Then stir in the bell pepper and 1 tablespoon of the parsley. Stir in the noodles until they’re coated. Butter a 9-by-13-inch baking dish and transfer the noodle mixture to the dish.
- Melt the remaining 4 tablespoons butter in a bowl in the microwave; stir it around with the breadcrumbs and remaining tablespoon of parsley.
- Top the casserole with the breadcrumbs and bake until golden, 25 to 30 minutes. Serve piping hot with a green salad and warm crusty bread.
Notes
Why It’s a Classic:
- Creamy, crunchy, and cheap.
- Easy to prepare with pantry ingredients.
- Comfort food that comes with nostalgic value.

4. Best Homemade Chicken Pot Pie
Grandma’s Best Homemade Chicken Pot Pie is a savory embrace, with a flaky crust encasing tender chicken, fresh veggies, and creamy gravy. I’ve requested this for countless Sunday dinners, its warmth unmatched by any fast food pizza. Unlike the flavorless tomatoes bred for yield, this pie uses fresh ingredients to deliver a rich, satisfying taste.
Its adaptability ideal for making with leftover chicken or turkey is a testament to Grandma’s practicality. Each bite, from the golden crust to the veggie-stuffed filling, is a taste of home-cooked love.
Best Homemade Chicken Pot Pie
Equipment
- 1 Large, deep skillet Preferably oven-safe if you wish to finish the dish in one pan
- 1 9-inch Pie plate
- 1 Rimmed Baking Sheet For catching any drips and easy transfer
- 1 Whisk or Sturdy Spoon For mixing the roux and thickening the sauce
- 1 Chef’s Knife and Cutting Board For precise dicing of vegetables
Ingredients
Main
- 6 tablespoons butter
- 1 cup finely chopped onion
- ¾ cup diced carrot
- ½ cup diced celery
- 1 ½ teaspoons kosher salt
- 1 teaspoon finely chopped fresh rosemary Optional
- ⅓ cup all-purpose flour
- 1 ½ cups chicken broth
- ½ cup heavy cream
- 4 cups diced cooked chicken breast
- 1 cup frozen peas
- 2 tablespoons finely chopped fresh parsley
- salt and ground black pepper to taste
- 1 14.1 ounce package ready-to-use refrigerated pie crusts
Instructions
- Preheat the oven to 425 degrees F (220 degrees C).
- Melt butter in a large, deep skillet over medium-high heat. Add onion, carrot, celery, salt, and rosemary and cook, stirring often, until onion is translucent, about 5 minutes. Stir in flour and cook for 1 minute.
- Stir in chicken broth and cream and bring to a simmer. Reduce heat and cook, stirring often, until thick and creamy and vegetables have started to soften, about 5 minutes. Stir in chicken, peas, and parsley until well combined. Season with salt and pepper and remove from the heat.
- Place one crust in the bottom of a 9-inch pie plate. Add filling and place second crust on top. Press crusts together to seal around the edges and use fingers to crimp the dough. Cut small slits in the top and transfer to a rimmed baking sheet.
- Bake in the preheated oven until golden and bubbly, about 30 minutes. Tent the edges with foil while baking if they become too brown. Let stand 10 minutes before serving. lutzflcat
Notes
What Makes It Great:
- Flaky crust, creamy filling.
- Ideal for leftovers, wastage-free.
- A classic family favorite.
- Sweet Delights: Desserts That Steal the Show
Grandma’s desserts are pure magic, turning simple ingredients into indulgent treats that outshine any store-bought sweets. I’ve swooned over her pies and rolls, which make modern Nutella’s sweeter formula seem lackluster by comparison. These recipes are celebrations in every bite, perfect for any occasion.

5. Homemade Buttermilk Biscuits
Grandma’s Homemade Buttermilk Biscuits are buttery, flaky nirvana, perfect for honey, gravy, or jam. I can still recall the warm, light layers on lazy weekend mornings. Unlike the mealy Red Delicious apples of today, these biscuits use cold butter and buttermilk for their distinctive texture, an easy trick that produces phenomenal results.
Baking them fills the house with an irresistible scent, and each bite a moment of bliss. They’re versatile enough for a breakfast or dinner, showing Grandma’s recipes are timeless.
Chef John’s Buttermilk Biscuits
Equipment
- 1 Large Mixing Bowl
- 1 Whisk
- 1 Pastry Blender Essential for cutting butter into flour without overworking
- 1 Baking Sheet Lined with silicone mat or parchment paper
- 1 Round Biscuit Cutter 2 1/2-inch recommended
Ingredients
Main
- 2 cups all-purpose flour
- 2 teaspoons baking powder
- ¼ teaspoon baking soda
- 1 teaspoon salt
- 7 tablespoons unsalted butter chilled in freezer and cut into thin slices
- ¾ cup cold buttermilk
- 2 tablespoons buttermilk for brushing
Instructions
- Gather the ingredients. Preheat oven to 425 degrees F (220 degrees C). Line a baking sheet with a silicone baking mat or parchment paper. Dotdash Meredith Food Studios
- Whisk flour, baking powder, baking soda, and salt together in a large bowl. Add cold butter slices and cut into the flour with a pastry blender until the mixture resembles coarse crumbs.
- Make a well in the center of the mixture. Pour cold buttermilk into the well and stir gently until just combined. Turn dough onto a floured work surface and pat it together into a rectangle.
- Fold the rectangle in thirds. Turn dough a half turn, gather any crumbs, and flatten back into a rectangle. Repeat twice more, folding and pressing the dough a total of three times.
- Roll dough on a floured surface to about 1/2 inch thick. Use a 2 1/2-inch round biscuit cutter to cut biscuits. Reroll any scraps to cut more biscuits; you should get 12 total.
- Transfer biscuits to the prepared baking sheet. Press an indent into the top of each biscuit with your thumb. Brush buttermilk over the tops.
- Bake in the preheated oven until biscuits are flaky and golden brown, about 15 minutes. Enjoy! DOTDASH MEREDITH FOOD STUDIOS
Notes
Biscuit Brilliance:
- Light layers from cold butter and buttermilk.
- Versatile for sweet or savory toppings.
- A cozy, homespun treat.

6. Overnight Cinnamon Rolls with Cream Cheese Frosting
Grandma’s Overnight Cinnamon Rolls are morning magic, with spiced, gooey dough and tangy cream cheese frosting. I wake to their heavenly scent, a universe away from the shrinkflated Jaffa Cakes. The overnight preparation allows flavors to intensify, and a pinch of cardamom creates a warm, secret nuance.
These rolls turn mornings into special events, their sweet, creamy topping ensuring every bite is one to remember. Grandma’s smart planning makes indulgence a breeze and oh-so-worth it.
Overnight Cinnamon Rolls
Equipment
- 1 Large Mixing Bowl For preparing and chilling the dough.
- 1 Rolling Pin Essential for evenly rolling out the dough.
- 1 Sharp Knife or Dental Floss For clean, precise cuts when dividing the rolls.
- 1 Greased Baking Pan Such as a 9×13 inch pan, for the second rise and baking.
Ingredients
Main
- 2 cups lukewarm water
- 1 .25 ounce package active dry yeast
- ½ cup white sugar
- ¼ cup shortening
- 1 ½ teaspoons salt
- 1 large egg
- 6 cups all-purpose flour sifted
- ½ cup unsalted butter softened
- ½ cup firmly packed brown sugar
- ½ cup white sugar
- 4 tablespoons ground cinnamon
- 1 pinch ground cloves
- ½ cup cream cheese frosting or to taste
Instructions
- Prepare dough: Combine water and yeast; let sit for 5 minutes until yeast has dissolved.
- Mix sugar, shortening, salt, and yeast mixture together in a large bowl. Stir in egg. Mix in 1/2 of the flour, then remaining flour until a dough forms. Transfer dough to a well-greased bowl and cover. Place in the refrigerator to rise, 8 hours to overnight.
- Remove dough from the refrigerator. Roll out on a lightly floured board. Spread softened butter over the surface of the dough, leaving a 1-inch strip along the long edge of the rectangle furthest away from you completely dry.
- Mix brown sugar, white sugar, cinnamon, and cloves together in a bowl. Sprinkle all over the dough except the 1-inch border. Roll dough up toward the border, then cut into 1-inch thick rolls. Place in a greased pan and let rise in a warm place until doubled in size, about 1 hour.
- Preheat the oven to 375 degrees F (190 degrees C).
- Bake rolls in the preheated oven until golden brown, about 20 minutes. Spread cream cheese frosting on top of hot rolls.
Notes
Morning Magic:
- Overnight prep for deep flavor.
- Cardamom gives it a special twist.
- Creamy frosting seals the deal.

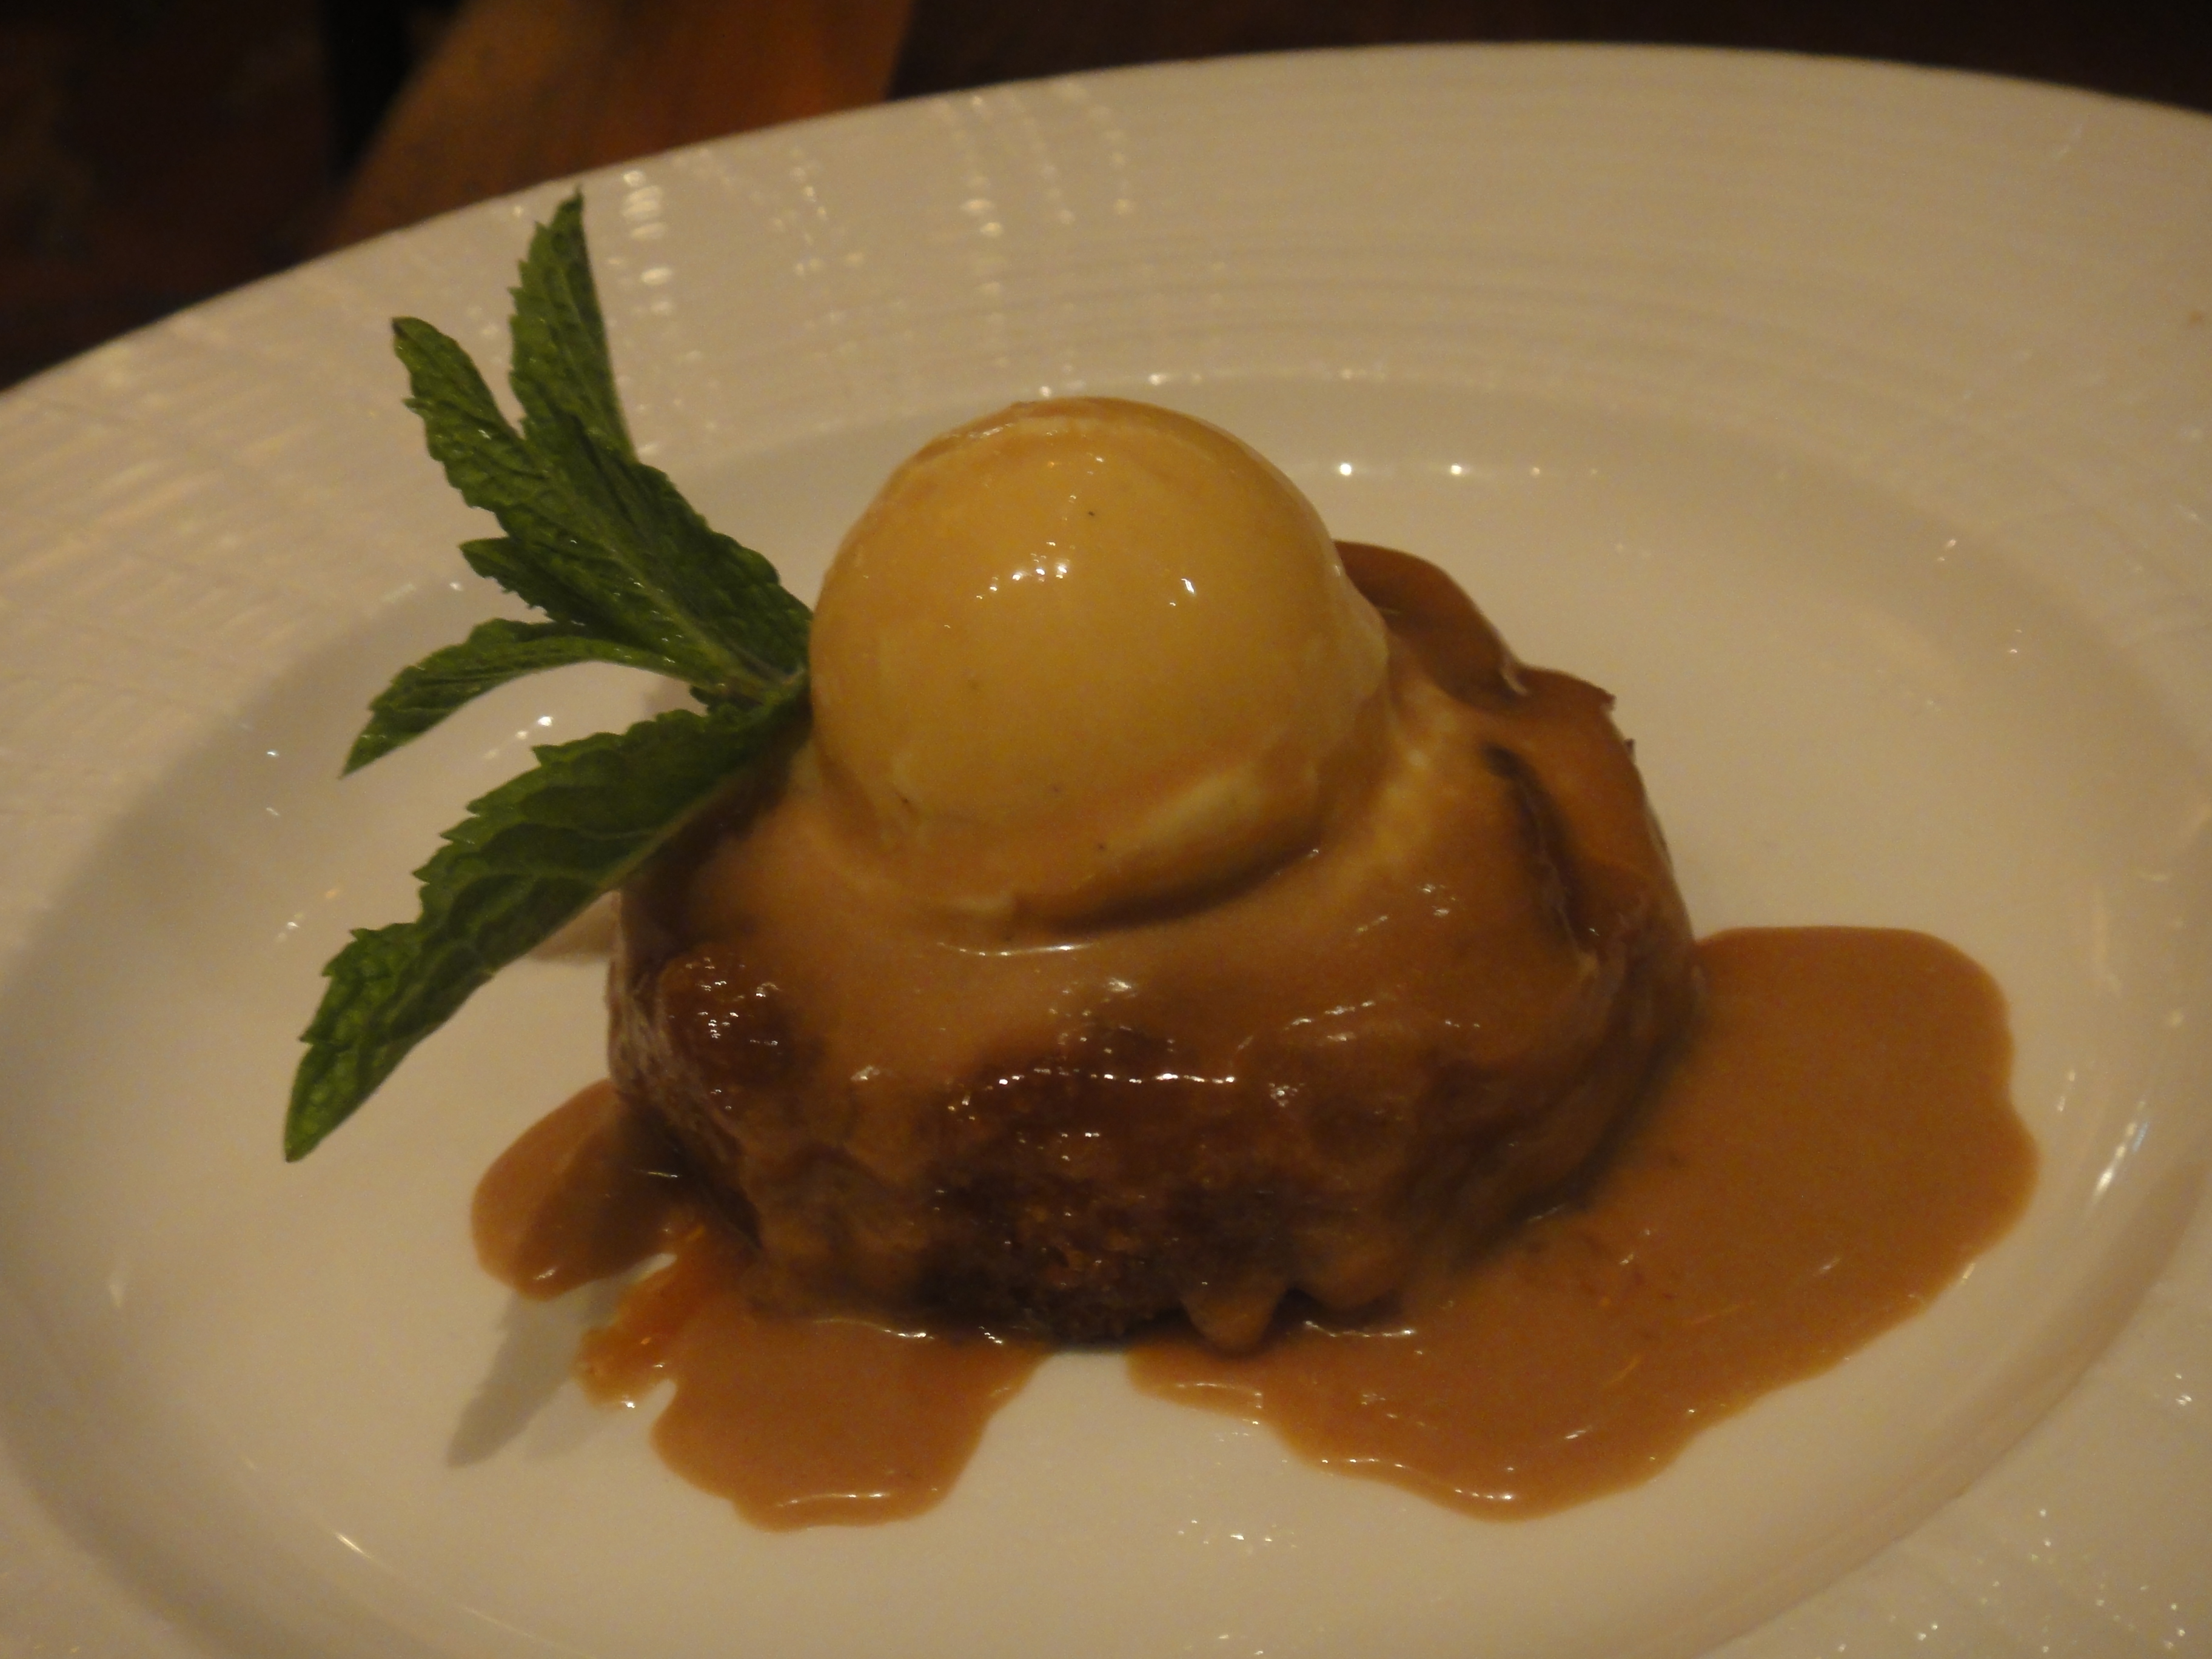
7. Southern Pecan Pie
Grandma’s Southern Pecan Pie is a gooey, crunchy masterpiece, with toasted pecans in a caramel-like filling nestled in a flaky crust. I’ve savored this at countless gatherings, its richness outshining any modern dessert like reformulated Oreos. It’s perfect for holidays or quiet afternoons, turning any moment into a celebration.
The balance of sweet filling and nutty crunch is pure Southern charm, proving Grandma’s recipes can steal any show.
Southern Pecan Pie
Equipment
- 1 Medium Mixing Bowl
- 1 Whisk
- 1 Measuring Cups and Spoons
- 1 9-inch Pie plate
- 1 Oven
Ingredients
Main
- 3 large eggs
- 1 cup white sugar
- 1 cup corn syrup
- 2 tablespoons butter melted
- 1 teaspoon vanilla extract
- ¼ teaspoon salt
- 1 ½ cups pecan halves
- 1 9-inch unbaked single crust pie
Instructions
- Preheat the oven to 400 degrees F (200 degrees C).
- Beat eggs slightly in a medium bowl. Beat in sugar, and then blend in syrup, butter, vanilla, salt, and pecans. Pour filling into unbaked pie shell.
- Bake in preheated oven for 15 minutes. Reduce heat to 350 degrees F (175 degrees C), and continue baking until pie is golden brown and slightly puffed on top, about 35 to 40 minutes. Chef Mo
Notes
Pie Perfection:
- Gooey filling, crunchy pecans.
- Flaky crust to balance.
- A crowd-pleaser for any occasion.
8. Pineapple Upside Down Cake (1920s)
Grandma’s Pineapple Upside Down Cake is a slice of 1920s history, with its light and fluffy cake topped by caramelized pineapple rings and cherries. I adore the bright, retro appearance, a far cry from the boring bananas of today’s Cavendish variety. The fruit topping adds a tangy sweetness to each bite, making it a visual and taste success. This cake’s classic appeal is a testament that understated beauty never fades, a genuine vintage treasure.

pineapple upside-down cake
Equipment
- 1 Round Baking Pan (e.g., 9-inch) For baking the cake
- 1 Mixing Bowl For preparing the cake batter
- 1 Electric mixer or whisk For combining cake mix ingredients
- 1 Measuring Cups and Spoons For accurate ingredient measurement
- 1 Small Saucepan For melting butter and mixing with brown sugar
Ingredients
Main
- 2/3 cup splenda brown sugar packed
- 1/4 cup I Can’t Believe It’s Not Butter Light Spread (Soft), melted
- 10 maraschino cherries
- 10 slices pineapple I like dole pineapples
- 1 yellow cake mix
Instructions
- Preheat your oven according to the yellow cake mix package instructions, typically 350°F (175°C).
- In a small saucepan, melt the 1/4 cup of I Can’t Believe It’s Not Butter, Light Spread (Soft) over low heat.
- Remove from heat and stir in the 2/3 cup of Splenda brown sugar until well combined, creating a thick, syrupy mixture.
- Pour the butter-sugar mixture evenly into the bottom of your round baking pan.
- Arrange the 10 pineapple slices on top of the sugar mixture in the pan. Place one maraschino cherry in the center of each pineapple ring.
- Prepare the yellow cake mix according to the package directions in a separate mixing bowl, using an electric mixer or whisk until smooth.
- Carefully pour the cake batter evenly over the pineapple and cherry arrangement in the pan.
- Bake for the time specified on the cake mix package, typically 30-35 minutes, or until a wooden skewer inserted into the center of the cake comes out clean.
- Once baked, remove the cake from the oven and let it cool in the pan for 5-10 minutes.
- Place a serving plate over the top of the cake pan, then carefully invert the cake onto the plate. Lift the pan slowly, allowing the topping to settle. Serve warm or at room temperature.
Notes
Vintage Charm:
- Sour pineapple, sweet cake.
- Awesome retro presentation.
- A century-old favorite.

9. Homemade Macaroni and Cheese
Grandma’s Homemade Macaroni and Cheese is the ultimate comfort food, with a velvety cheese sauce coating every noodle. I’ve lost myself in its creamy goodness, a far cry from the watery McDonald’s fries of today. Ready in 25-30 minutes on the stovetop or under 10 in an Instant Pot, it’s quick yet indulgent.
The hidden combination of cheeses gives it richness, a childhood favorite that never gets old, served wonderfully with any meal.

Spicy Macaroni and Cheese
Equipment
- 1 2-Quart Baking Dish
- 2 Large Mixing Bowls
- 1 Whisk
- 1 Large Skillet
- 1 Saucepan (for pasta)
Ingredients
Main
- 2 cups elbow pasta cooked until almost al dente
- 8 ounces Cheddar 1/2 cubed, 1/2 shredded
- 8 ounces Colby cheese cubed
- 8 ounces Monterey pepper jack cheese cubed
- 2 teaspoons all-purpose flour
- 1/2 teaspoons salt
- 1/2 teaspoon freshly ground black pepper
- 1/2 teaspoon cayenne pepper
- 1/2 teaspoon dry mustard
- 1/8 teaspoon freshly ground nutmeg
- 4 tablespoons sour cream
- 1 large egg beaten
- 1 cup heavy cream
- 1 cup half-and-half
- 1/4 cup finely grated onions
- 4 slices bread
- 1 tablespoon butter
- Special equipment: 2-quart baking dish
Instructions
- Preheat the oven to 350 degrees F.
- In a large bowl, toss together the pasta with the cheese cubes and pour into the baking dish.
- In a large bowl, mix together the flour, salt, black pepper, cayenne pepper, dry mustard, nutmeg. Add the sour cream, egg, heavy cream, half-and-half and onions. Pour over the pasta and cover with the shredded Cheddar. Bake uncovered until the top is just beginning to brown, about 35 minutes.
- Meanwhile, cut the bread into crouton-size squares. In a skillet over medium heat, melt the butter, add the bread cubes and toast until golden. Sprinkle the bread cubes on top of the macaroni and cheese and bake until golden brown, about 10 minutes more.
Notes
Cheesy Bliss:
- Rich, creamy sauce, not runny.
- Rapid preparation for immediate comfort.
- A classic family favorite.

10. Grandma’s Lemon Meringue Pie
Grandma’s Lemon Meringue Pie is a zesty, sweet work of art, with puckery lemon curd and light, toasted meringue. I adore its bright contrast, a welcome respite from the dull Twinkies of today. Thicken it with cornstarch and flour, no milk, and it gets the ideal curd consistency, as followers comment on its “sweet and simple” appeal.
This pie is truly a showstopper, combining elegance and comfort in each sunny slice, a true reflection of Grandma’s creativity.
Grandma’s Lemon Meringue Pie
Equipment
- 1 Medium Saucepan For cooking the lemon filling
- 1 Whisk For mixing dry ingredients and tempering egg yolks
- 1 Electric Mixer Essential for achieving stiff peaks for the meringue
- 2 Mixing Bowls One small for tempering yolks, one clean, fat-free for egg whites
- 1 9-inch Pie plate To hold the baked pie crust and the assembled pie
Ingredients
Main
- 1 cup white sugar
- 2 tablespoons all-purpose flour
- 3 tablespoons cornstarch
- ¼ teaspoon salt
- 1 ½ cups water
- 2 medium lemons juiced and zested
- 2 tablespoons butter
- 4 egg yolks beaten
- 1 9 inch prepared pie crust, baked
- 4 egg whites
- ½ cup white sugar
Instructions
- Gather all ingredients and preheat the oven to 325 degrees F (165 degrees C). Dotdash Meredith Food Studios
- To make the lemon filling: Whisk 1 cup sugar, flour, cornstarch, and salt together in a medium saucepan; stir in water, lemon juice, and lemon zest. Cook over medium-high heat, stirring frequently, until mixture comes to a boil. Stir in butter. Dotdash Meredith Food Studios
- Place egg yolks in a small bowl and gradually whisk in 1/2 cup of hot sugar mixture. Dotdash Meredith Food Studios
- Whisk egg yolk mixture back into remaining sugar mixture. Bring to a boil and continue to cook while stirring constantly until thick. Remove from heat; pour filling into baked pastry crust. Dotdash Meredith Food Studios
- To make the meringue topping: Beat egg whites in a glass, metal, or ceramic bowl with an electric mixer until foamy. Gradually add sugar, continuing to beat until stiff peaks form. Dotdash Meredith Food Studios
- Working quickly, spread meringue over pie filling, sealing the edges at the crust. Use the back of the spoon to create peaks on the top of the meringue if you like. Dotdash Meredith Food Studios
- Bake pie in the preheated oven until meringue is golden brown, about 20 to 25 minutes. Dotdash Meredith Food Studios
- Serve and enjoy! Dotdash Meredith Food Studios
Notes
Zesty Perfection:
- Tangy lemon, light-as-air meringue.
- Easy yet elegant recipe.
- Favorite of a generation.
Why Grandma’s Recipes Endure
Grandma’s recipes aren’t merely recipes her recipes are about love, tradition, and memories that outlast the fickle flavors of modern classics. Unlike the reformulated Nutella or cardboard Girl Scout Cookies, these recipes remain faithful to their origins, employing minimal ingredients and ingenuous techniques to provide unparalleled flavor. X posts hum with fans posting their own grandma’s recipes, resonating the nostalgia we enjoy.
These recipes counter the disappointments of mass-produced foods think mealy apples or soupy mayo by focusing on quality and heart. They’re versatile, economical, and timeless, perfect for recreating at home or passing down. So, dust off your apron, hit the kitchen, and let Grandma’s magic bring comfort to your table. Your taste buds will thank you, and maybe, just maybe, you’ll feel her love in every bite.


